 |
UZZ32 Active Shock rebuild |
|
UZZ32 Active Shock rebuild |
by Peter Scott
It is amazing that the best Soarer (and therefore one of the best cars in the world) was built in 1991 (well mostly - 700 out of the 873 were made in 1991) and Toyota still stock brand new parts for it and you can get a strut rebuild kit for only $160 roughly - fabulous!
I get my parts from :
speak to James in spare parts - he is the Soarer guy. I went to Castle Hill because they post stuff cheap and they had already done the parts for the UZZ32 and knew what to get.
Ring toll free on 1800 111 388
phone 02 9680 2111
fax 02 9899 4320
email: jsloane@chtoyota.com.au
2 Victoria Ave
Castle Hill 2154
To get them rebuilt the only person I know of who has done it besides Paul Snape (owner listed below) is Niall Bond from
Peter Pilkington
Sports car International,
Shell Garage
67 New South Head Rd Edgecliff
Sydney, NSW
02 9328 6588
The special suspension fluid is available from Toyota:
Part number: 08886-01805
Reseal parts for struts cost about $165 per strut – available from Castle Hill Toyota NSW
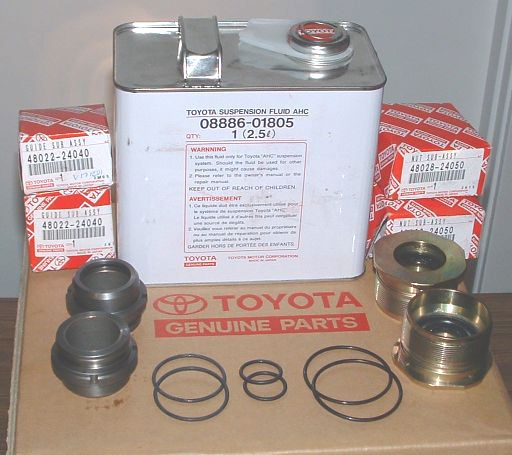
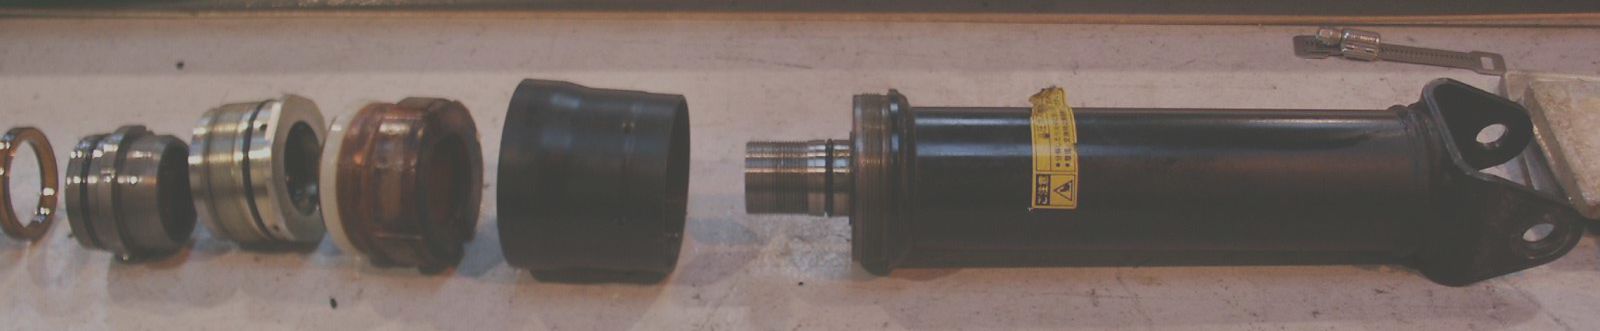
Special fluid in middle, guides on left, nut sub assembly on right, o-rings in middle - all you need for a pair of struts.
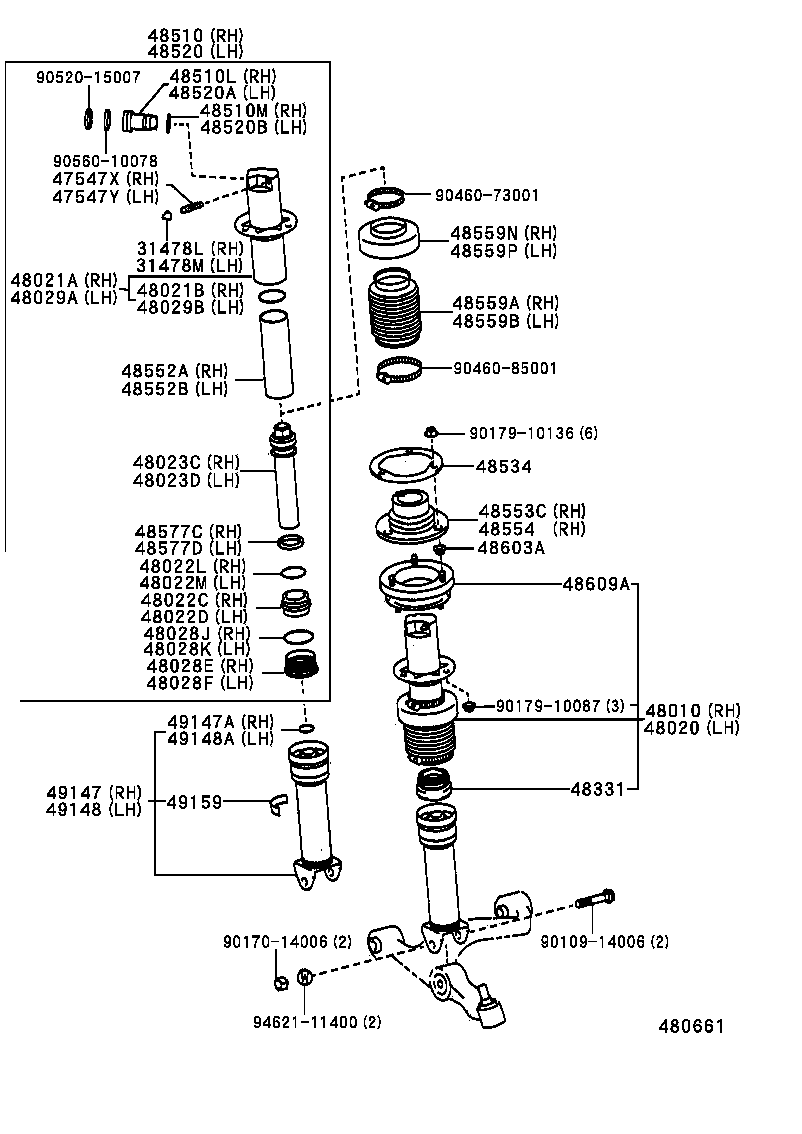
On the parts CD the "struts" are called shock absorbers - they look to be simple and easy to rebuild - a competent mechanic or hydraulic specialist should be able to do it.
Part numbers are:
Special Toyota UZZ32 Suspension fluid, 2.5 litre can - part number 08886-01805 only $16.26 ! don't accept anything else!
Rear shocks: Castle Hill have sold more rear seals than front seals.
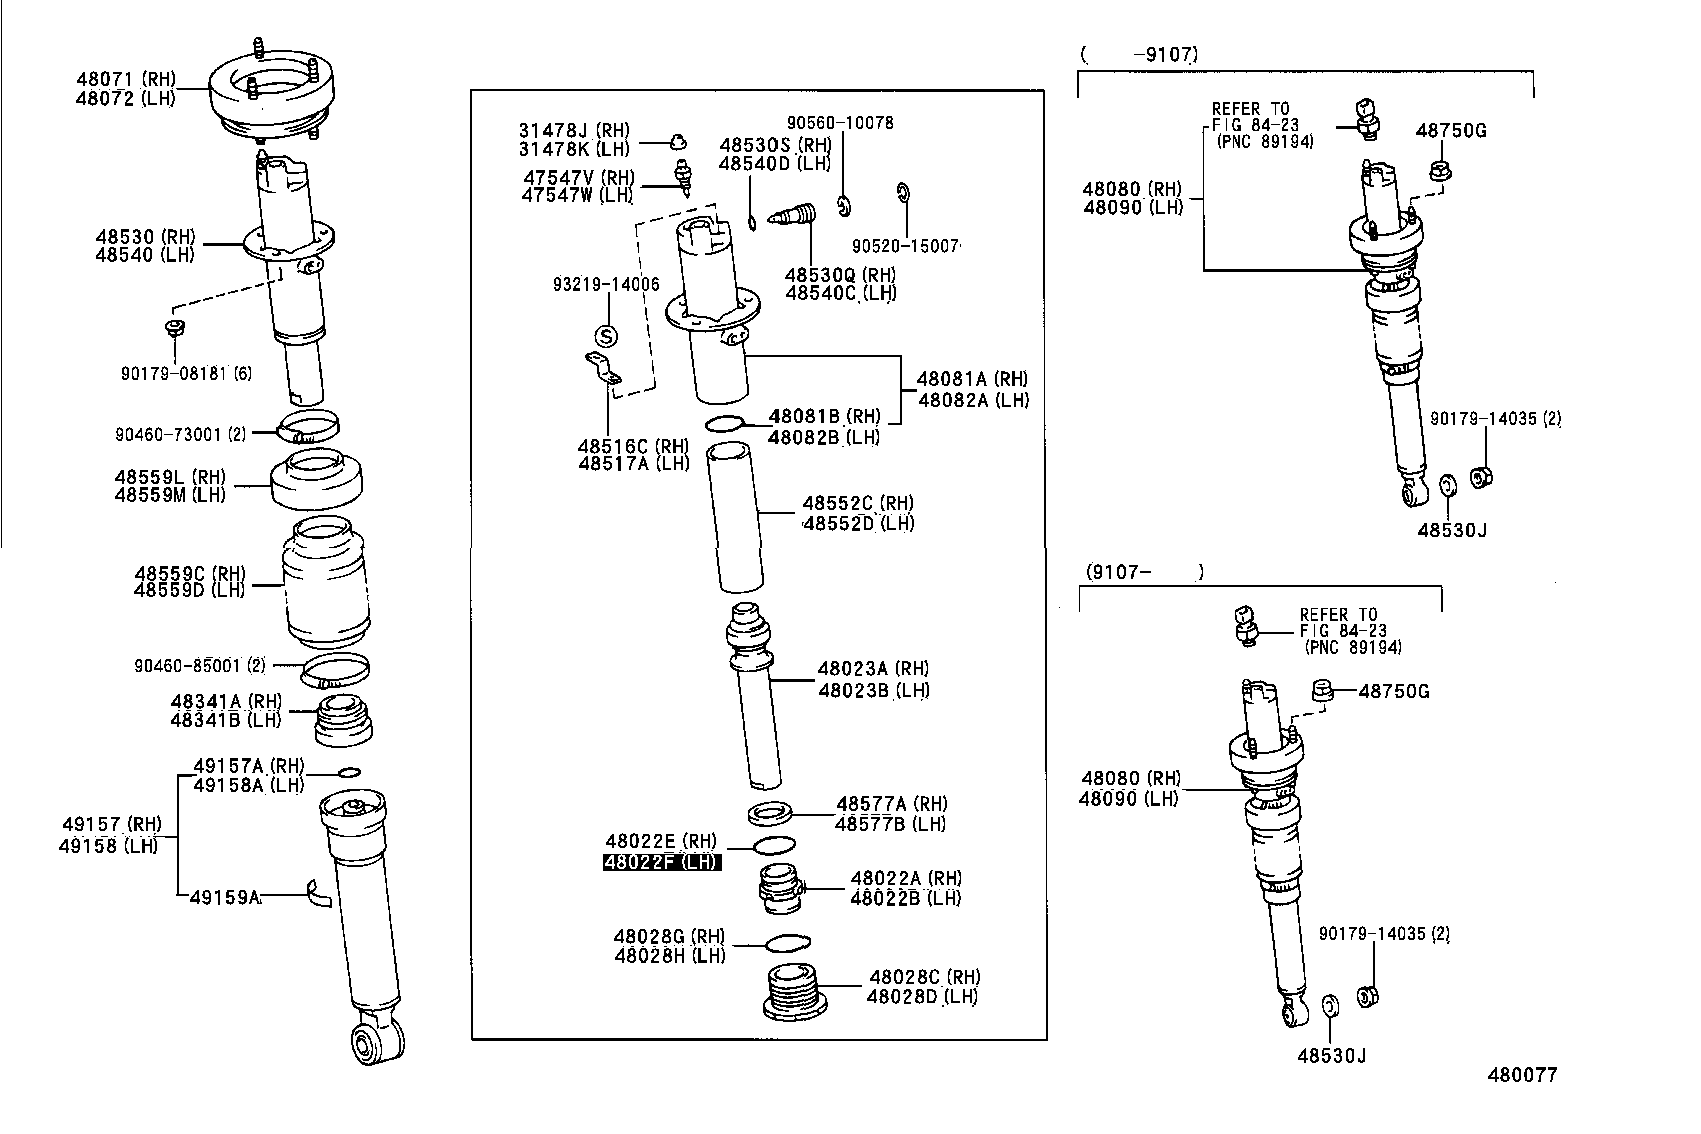
Rear shocks - same part numbers for each side - the left and right parts are the same numbers - so here are the part numbers for One (1) rear strut:
o-ring 90301-42003 $3.47
rear guide 48022-24040 $89.07
o-ring 90301-53005 $3.47
Nut sub assembly 48028-24050 $42.71
o-ring 90301-23009 $3.47
grand total = $142 + 10% gst = $160 for the parts to rebuild one rear strut! - cheap!
Paul Snape has replaced the seals in his struts and took these photos of the rear struts. This is what he had to say:
over the past couple of months I have been reading/searching with great interest
for all info regarding the 32 and its complexities.
I though it about time I made myself known and added something for discussion.
Over the Christmas break I replaced the seals on my front and rear struts which was
certainly a learning experience. It wasn't too hard once I figured out how to strip down
the first unit and I took loads of pics with the struts in various states of disassembly
which might be of interest to some of you.
One thing that I did notice was that the lower section on each strut has what looks like a
piston accumulator. The lower section is an enclosed seal welded unit, the top of which is
open to the hydraulic fluid, but at the bottom has a small sealed port which I am guessing
is for gas precharge. This would make sense as the strut would need some damping and local
hydraulic accumulation. This being the case, what would happen if this unit has lost
pressure? Could it be the reason for spongy bounce at low speeds that some cars have more
than others???? I don't know I am just clutching at straws but I do know that on other
hydraulic circuits accumulator pressure has a huge effect on hydraulic performance (for
you electrical dudes its like having a faulty capacitor)
Does anyone else know? Steve is there any mention/pics of this in the Japanese manual?
This question about the lower section is now answered
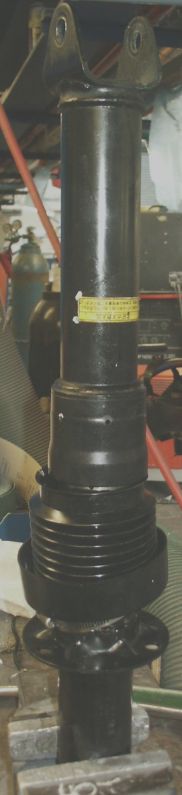
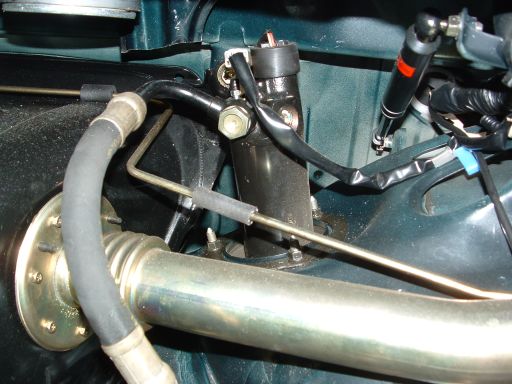
Rear shock
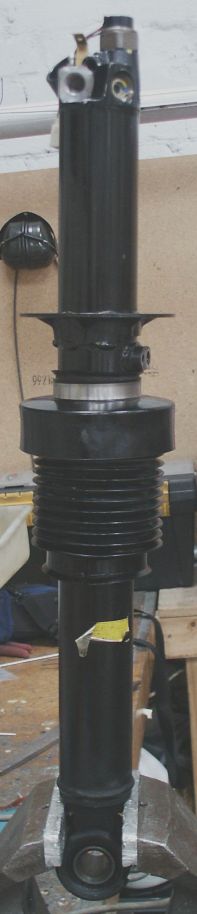
Lower part of rear shock
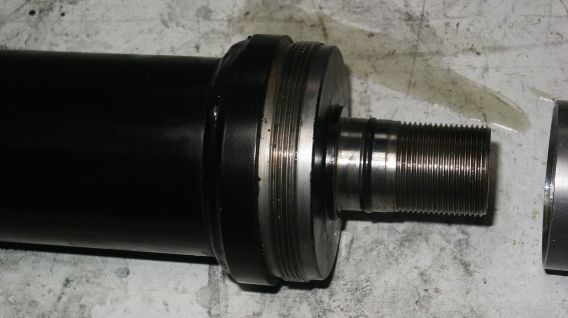
Close up
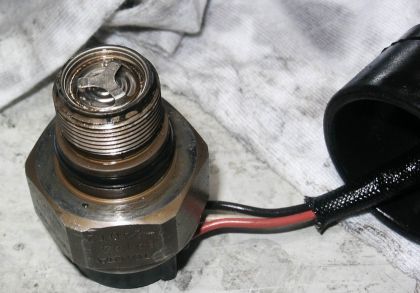
Pressure sensor rear shock
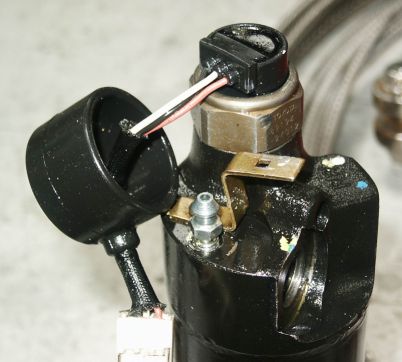
Top of rear shock
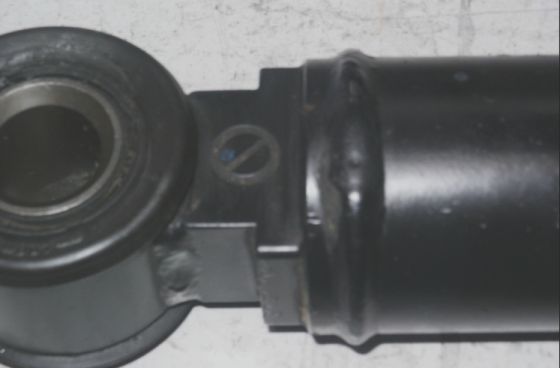
Gas port of rear shock?
Front shocks
Front shocks - pretty much the same story:
o-ring 90301-28007 $3.47
o-ring 90301-57005 $4.16
o-ring 90301-47003 $3.47
Nut sub assembly 48028-24040 $47.96
Guide sub assembly 48022-24030 $84.50
about $165 to do a front strut.
Budget 4 hours to get the strut rebuilt plus removal and refitting.
Some more of Paul Snape's pics:

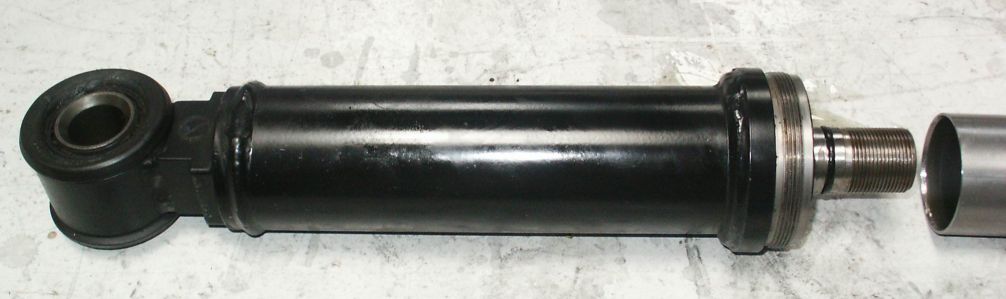
Front shock The seal that leaks the oil out.
gas port front shock
Internal sleeve - front shock
lower assembly front shock

middle assembly front shock

whole assembly front shock
problem seal front shock
If you have any experiences rebuilding the shocks either yourself or by someone else let me know how it goes -
March 2003
I resealed my rear shocks today.
First I tried to release most of the pressure with a plastic tube over the nipple - some fluid came out. Then the big nut - still pressurised, put a rag over and around it - it spurts everywhere. Disconnect the electrical plug. No more bolts to undo in the boot.
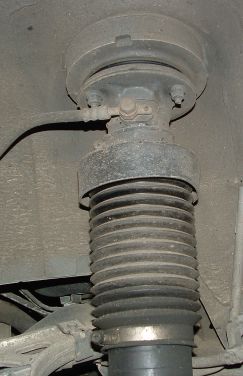
Clean strut, remove hose - more oil comes out - I had a big tray underneath. Three bolts up top remove - the shock will retract - might have to give it a wiggle.
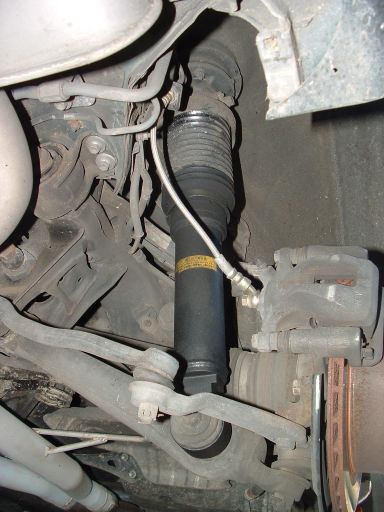
Remove big tight nut bottom of shock. See the oil leak on mine - thankfully rubber bush is not destroyed by oil. Shock can be wiggled out now.
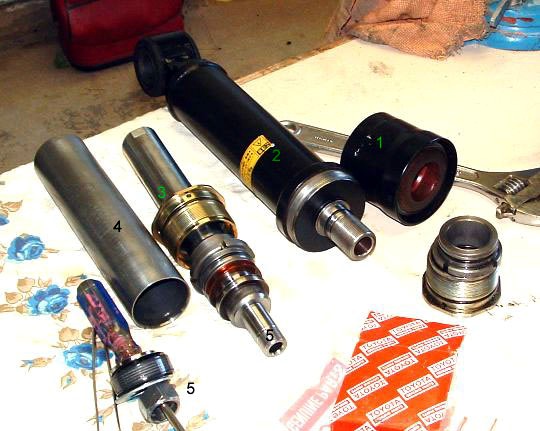
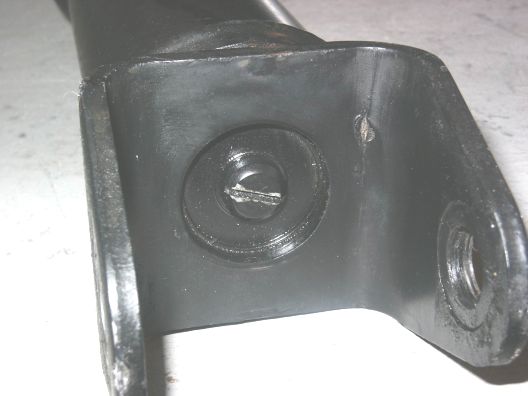
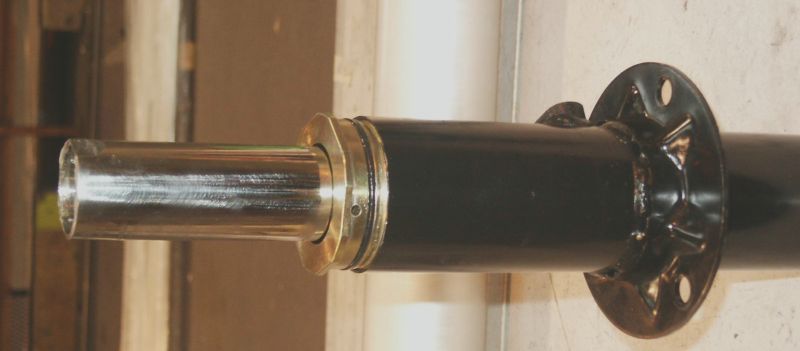
First thing I did was hold the gold nut (3) in a vice, and use a pipe wrench to undo it. The nut is under the rubber boot. The gold nut and o-ring is replaced, so is the guide just above gold nut. The guide looks like the same stuff as a big end bearing material.
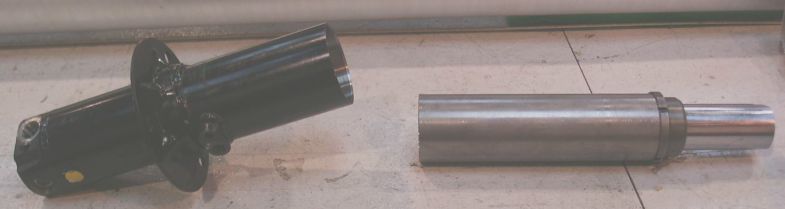
The steel tube (4) goes over the end of section 3-5 - it is a bit stiff to remove - it is held in by an o-ring. Don't remove the nut (5) - it stays there. Looks like the nut (5) is the valveing - if has shims and oil holes to control flow.
The big black tube (1) is removed using pipe wrench from the lower part of the shock (2). Then you can unscrew the ram from it. The lower section (2) you don't touch except for the little o-ring. I don't know what it does - all the action is in the upper part of the shock.
Looking at the shock it appears is if oil leaks, poor rebound and low speed bounce may be caused by bad seals in the shock or clogged holes in (5) - my fluid was green and dirty - not clean and clear like the Toyota stuff. So I would recommend a fluid bleed at least and a shock rebuild as a matter of service.
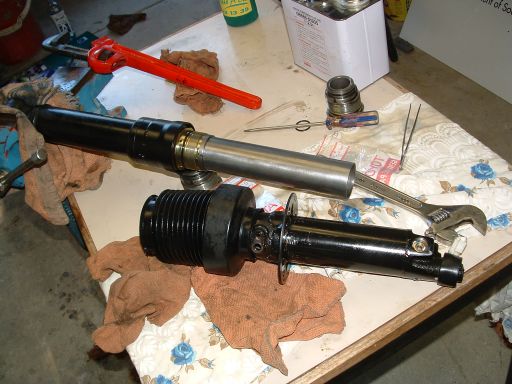
Ready to join shock halves back together.
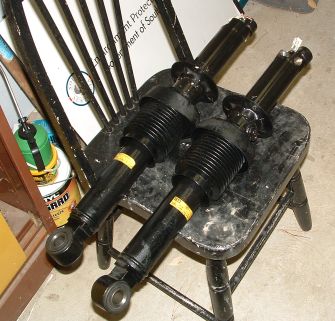
Two reconditioned shocks! - a joy to behold. The rebuild was easier than I though it would be - quite straightforward. The first one was slow - the second one was very fast.
The fluid was so dirty and green (should be clear) - that I couldn't bear to reinstall them without draining the reservoir first - so I'm off to get some more fluid tomorrow - another three cans at $16 each - CMI Toyota Adelaide has them in stock!
So I'll bleed them and flush the system - this is something we should all do - print out the page and give it to your favourite mechanic if you don't want to do it yourself - they will demolish the job no problems.
Here is the shock