 |
A340E Shift Kit Installation |
|
A340E Shift Kit Installation |
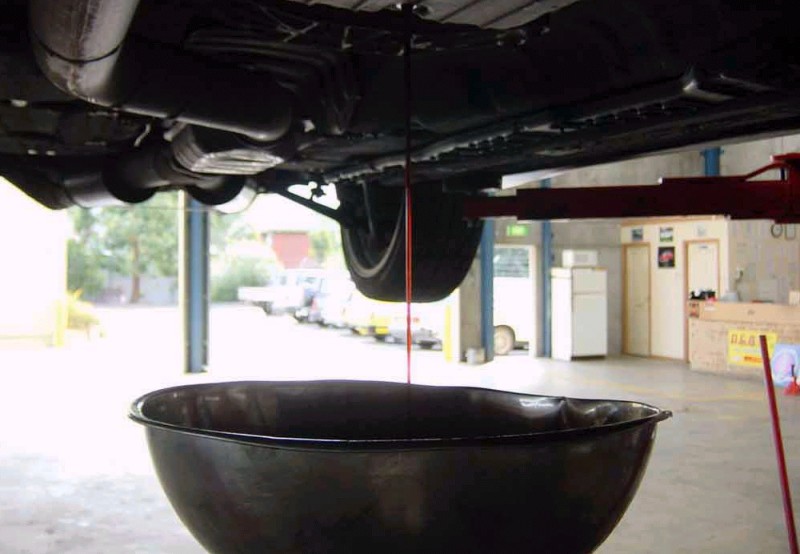
1. Drain as much fluid from the gearbox as possible. As you can see here, mine is coming out a nice red colour. It actually looks just as clean coming out as it did when I put it in. This is definitely a good thing.
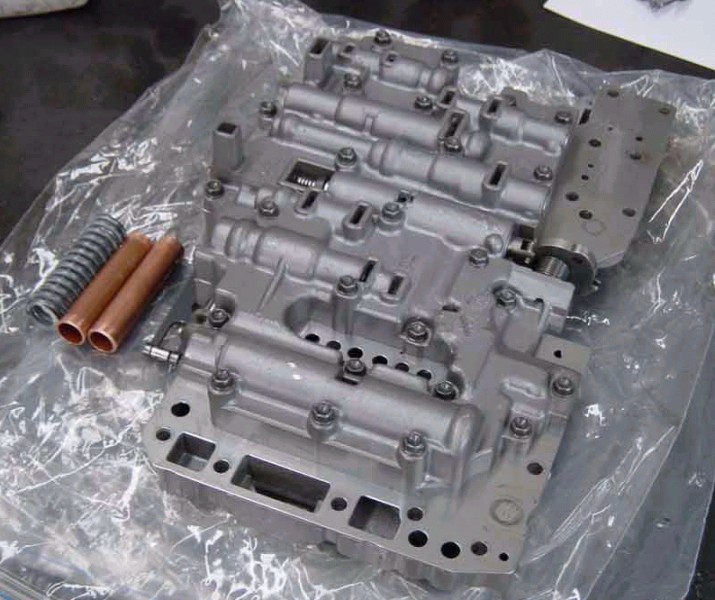
2. Below is a picture of the rebuilt valve body from MV Automatics in South Australia. Along side it are a spring and two copper pipes. Depending on what Stage kit you wish to install, you will need these later on in the installation.
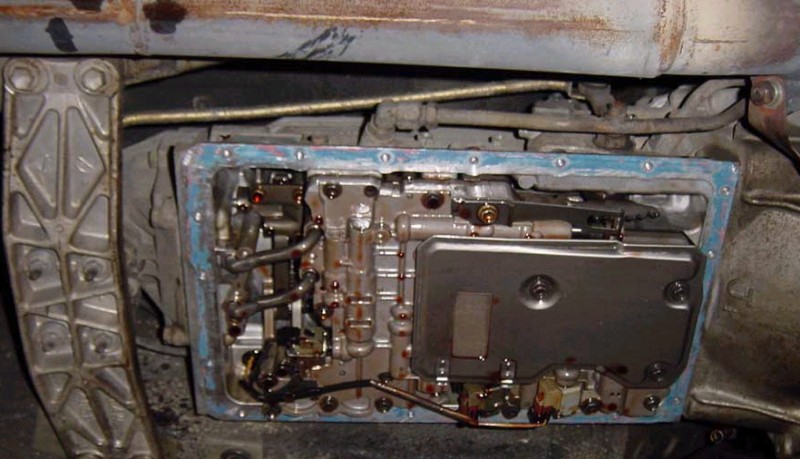
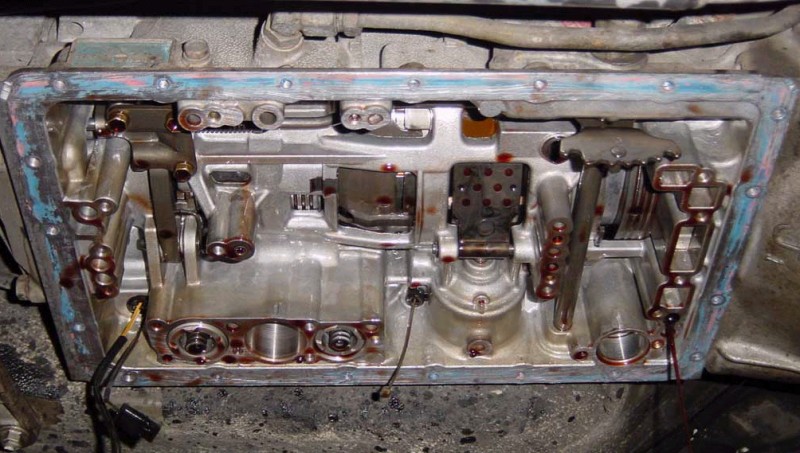
3. The next step is to drop the pan (careful of any remaining fluid). There are several bolts around the edge to be removed. You should be greeted with something that looks like the following picture. The big metal piece on the right hand side is the filter. Remove the 3 bolts holding it in place and carefully remove it.
4. Unscrew the black/grey bolts holding the valve body in the gearbox. Unclip the wiring going to the solenoids (bottom left in next photo) and as you remove the valve body, unhook the kickdown cable from the valve body (bottom centre in next photo).
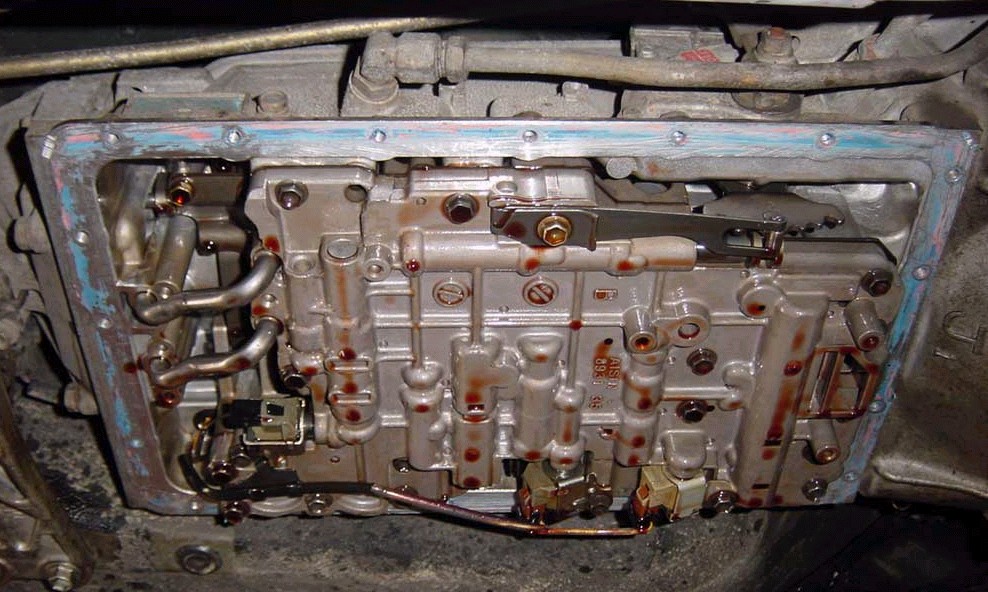
5. Replace the spring on the 2nd accumulator from the left (the empty cylinder above) with the white one supplied in the kit. Now is also the time to transfer all 3 shift solenoids from the old valve body to the new one (shown below).
6. Installation is pretty much the reverse of the removal procedure. If you got this far, you won’t have any problems putting it all back together.

7. Have fun chirping those rear tyres!!!