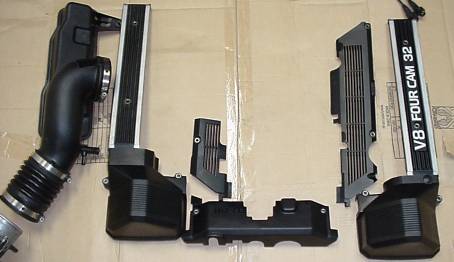
All of these plastic covers will have to come off. All are 10 mm bolts - I use a T handle socket to do the lot including the hoseclamps for the intake resonator. Don't forget the 10 mm bolt behind the throttle that holds the resonator down.
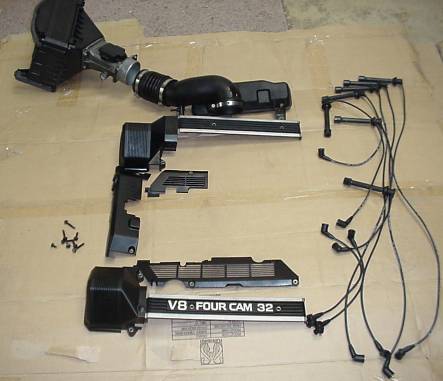
I take the airbox out too - new leads neatly lined up ready to go. If your original intake snorkel is in place then you won't be able to slide airbox forward to remove that piece of convoluted tube that connects the Air Flow Meter (AFM) to the intake resonator. You'll just have to wrestle it off as best you can.
Three bolts hold in the airbox, front, side and back by the AFM. (Soarer only)

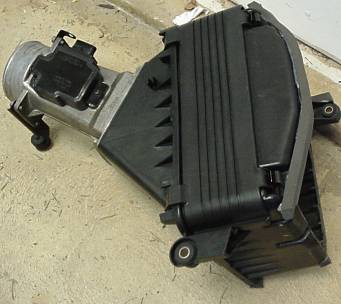
Intake resonator is held in by hoseclamp and one bolt.
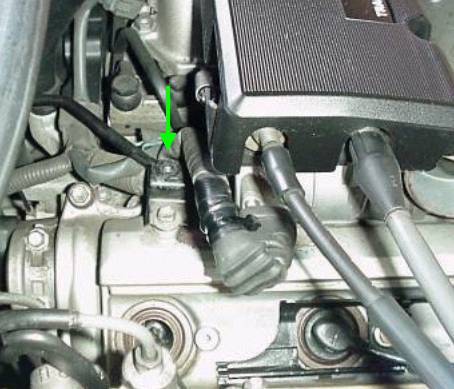
Here is the bolt location that holds down the resonator
Remove airflow meter plug and two vacuum hoses. The larger one is for the idle control valve.
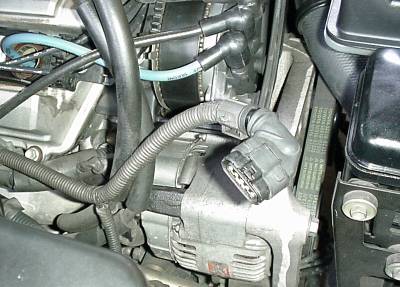
The battery side of the motor looks like this with the covers off. You can see one of the coils tucked down the side. The plug caps are supposed to seal the plug hole, mine leaked a bit so you had to be careful cleaning the engine. Water gets under the plastic covers easily - too much and the spark plug holes can fill with water causing the engine to mis-fire.
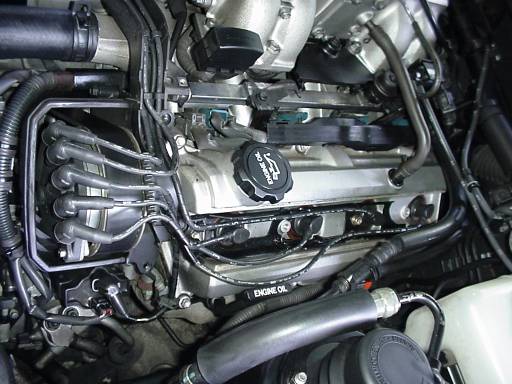
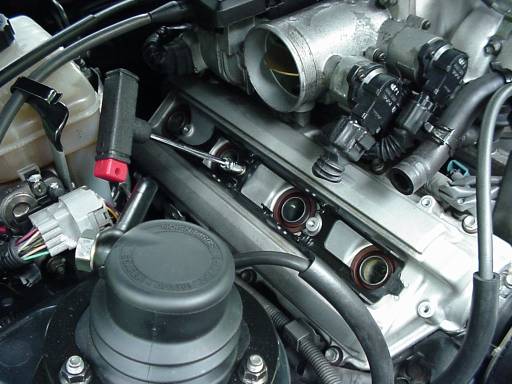
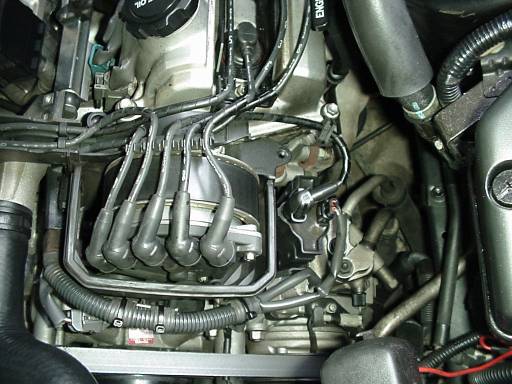
Because I have TRC (TRaction Control) there are two throttle butterflies, the inner one is controlled by your foot, the outer by the computer when you lose traction - there is no sensation through the throttle. In the foreground you can see the big rubber covered shock towers of the Active Suspension. You can also see the temporary blue and black leads I fitted to replace the broken leads to keep the car going until I replaced them.
The other coil is in the middle to the left, in front of the wires that cross the engine at the front.
Twist the plug caps to loosen, then wiggle them straight out - they can get tight.
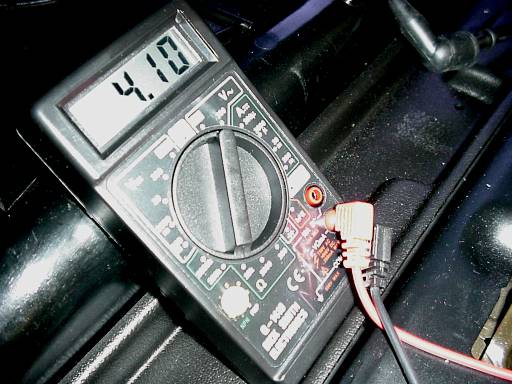
Test each lead for resistance. Put the multmeter on the 20k range for ohms. All leads should be between 5 and 15. Genuine leads will be closer to 15 (or 15 000 ohms). After market leads down to about 5 (like the ones being tested here). If the meter doesn't budge then you have an open circuit - the lead has a break somewhere. My car had four like this. The car still ran because the voltage was high enough to spark across the break - it was just down on power.
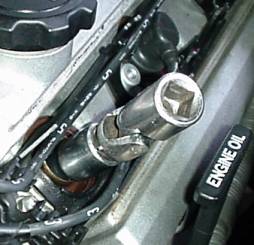
I use a long spark plug wrench to remove the plugs. I use NGK platinum BKRGEP-11, they come pregapped to 1.1 mm
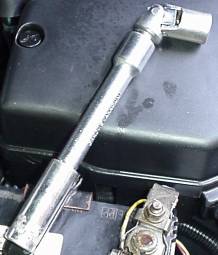
The swivel knuckle on the end makes it easier in tight spots
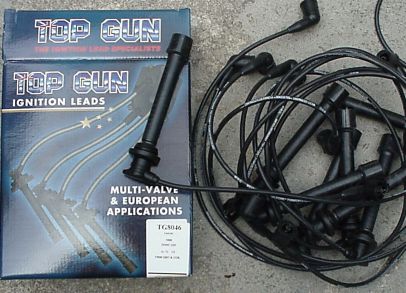
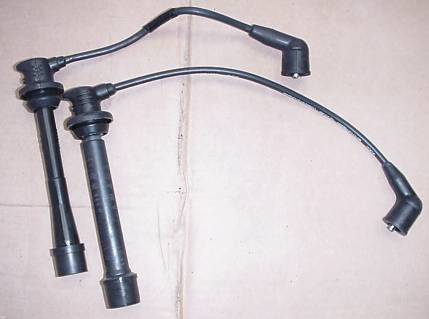
These aftermarket leads were $200 cheaper than the originals (in Australia). One of them was open circuit (bad) and the rest were between 2k and 5k ohms total - a lot lower than the originals (still ok though). They were all too long as well - they didn't fit. So looks like originals are the go ($390).
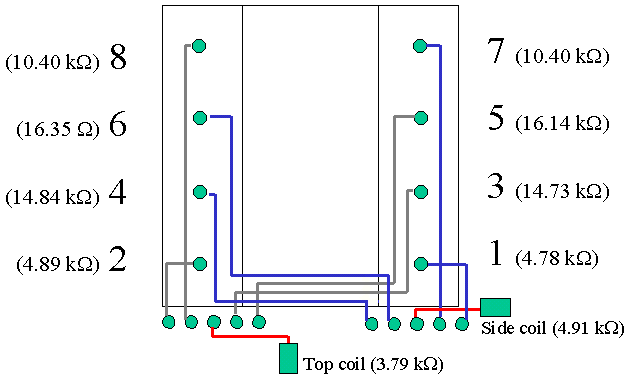
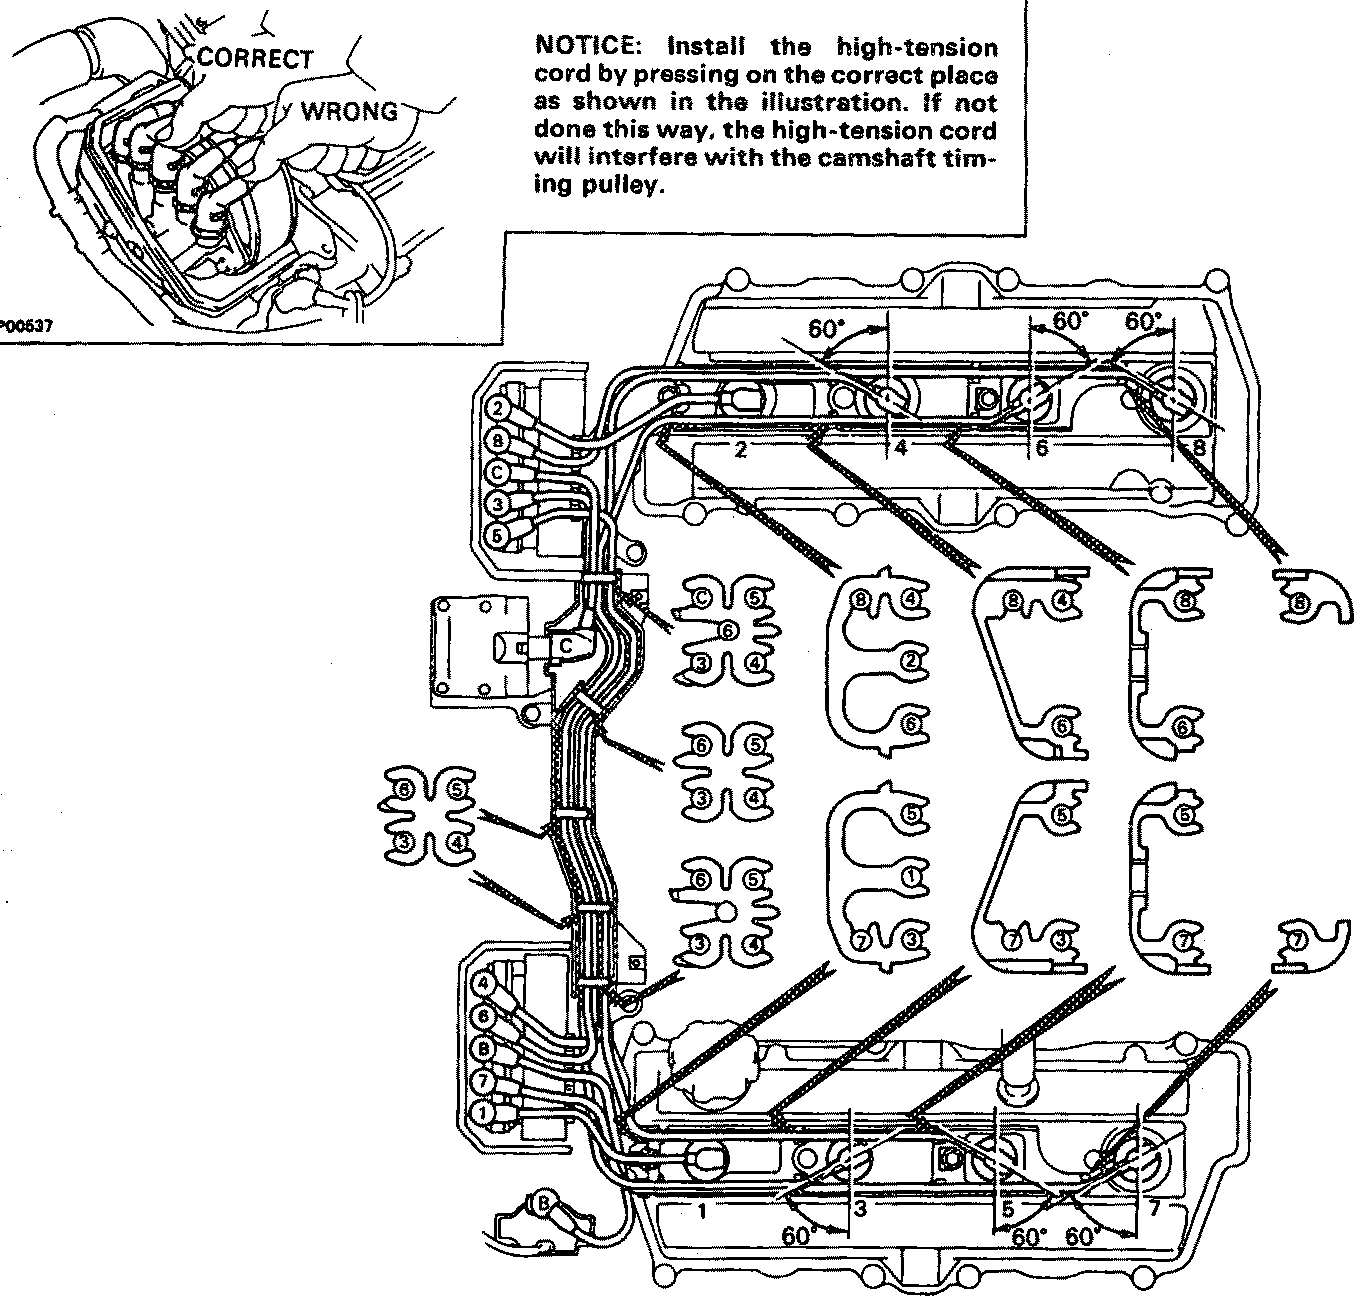
Here is a diagram of where the leads go - it is easy to stuff up - especially if you take a few off at once. But no problems if you get genuine ones. I have also recorded what the resistance of the brand new ones are. Compare to your own before buying any.
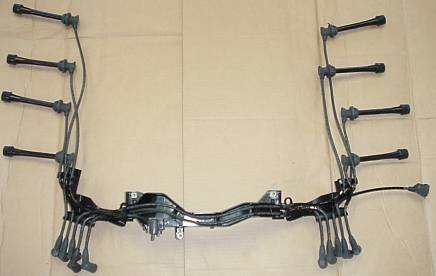
You get the whole lot with genuine parts. They come fully assembled like in this photo! They fit perfectly and the quality is fantastic. The only way to go.
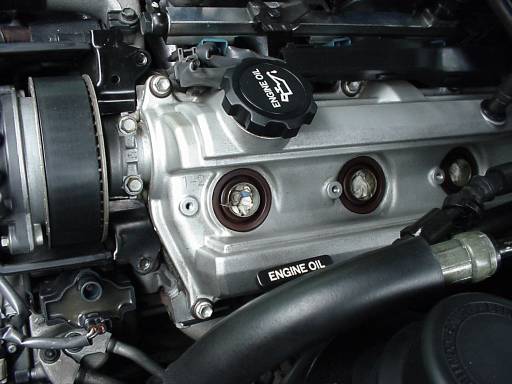
The rear cylinders on both banks collect water and dirt every time you spray the engine - if too much water gets in and the leads aren't sealing properly the engine will misfire.
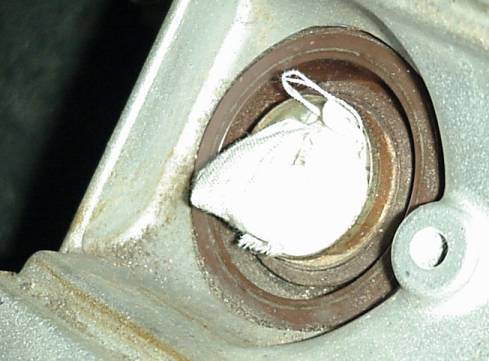
Before installing the new leads put bits of cloth down the spark plug holes and remove all traces of oil, dirt and water - it should be spotless. I used a rag and a clean paint brush to remove all the grit.
Take the lead guides over the plugs as well for a good clean.
A T-handle with a 10 mm socket nearly does the whole lot
Close up of the side coil.